SynActJ

ImageJ plugin and R Shiny app for analysis of synaptic activity
Shiny App Setup
The data analysis is realized as a Shiny app. This allows you to read in the output data and execute the data processing using a graphical interface.
For the data analysis you need to download R and RStudio:
R Version 4.1.0
Link to R
Select version 4.1.0
RStudio 1.4.1717
Link to RStudio
- Download the contents of the repository:
SynActJ Shiny
Click on the green button: Code.
Press Download ZIP to download the scripts. - Unzip the script to a location of your choice.
- Open the app.R file in RStudio.
- Start the application: press Run App - top right corner of RStudio.
- RStudio may ask to install or load extra packages - Download will take some time.
- Once these packages are installed and loaded the RShiny GUI should pop up.
- Optional: Press Open in Browser for a better rendering of the GUI.
Data Processing
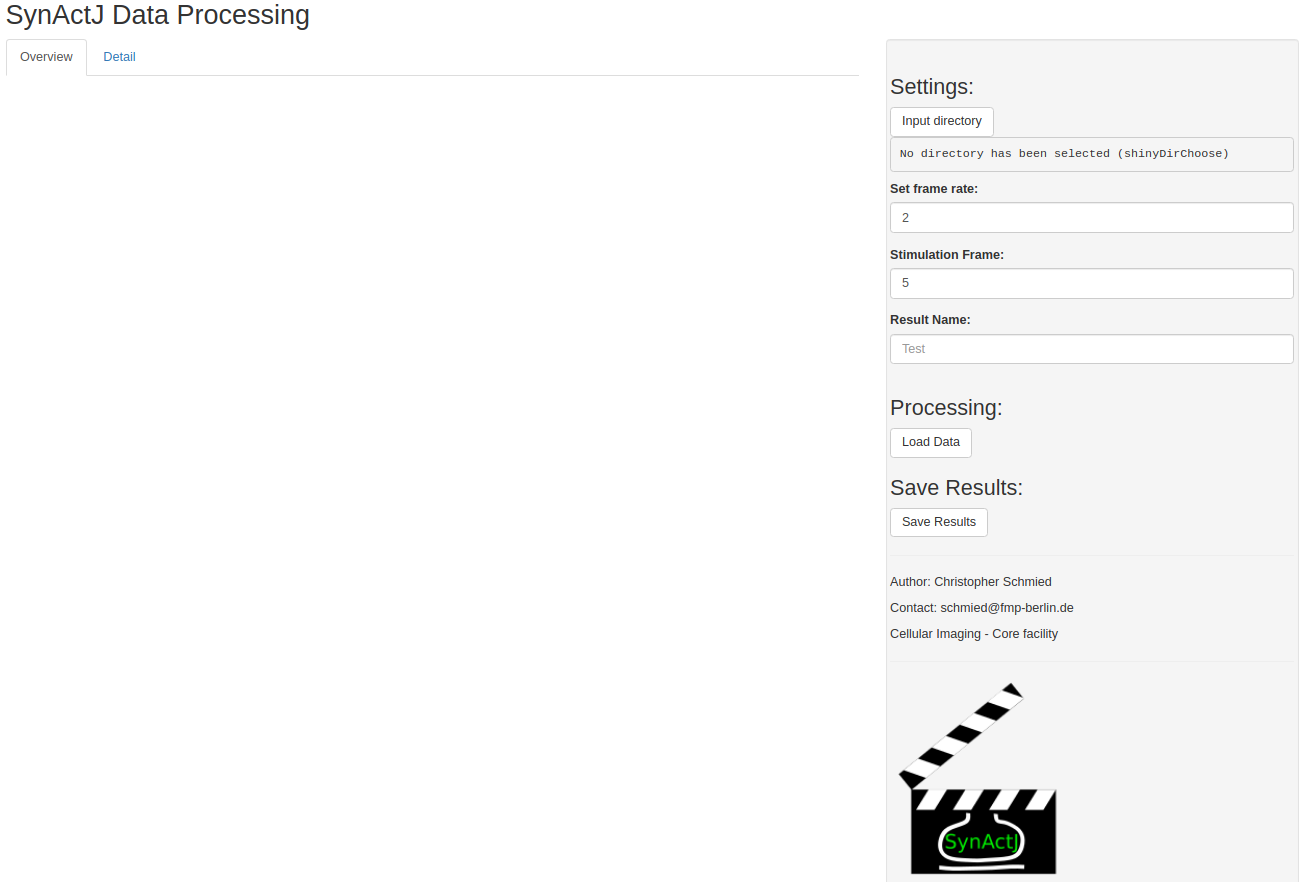
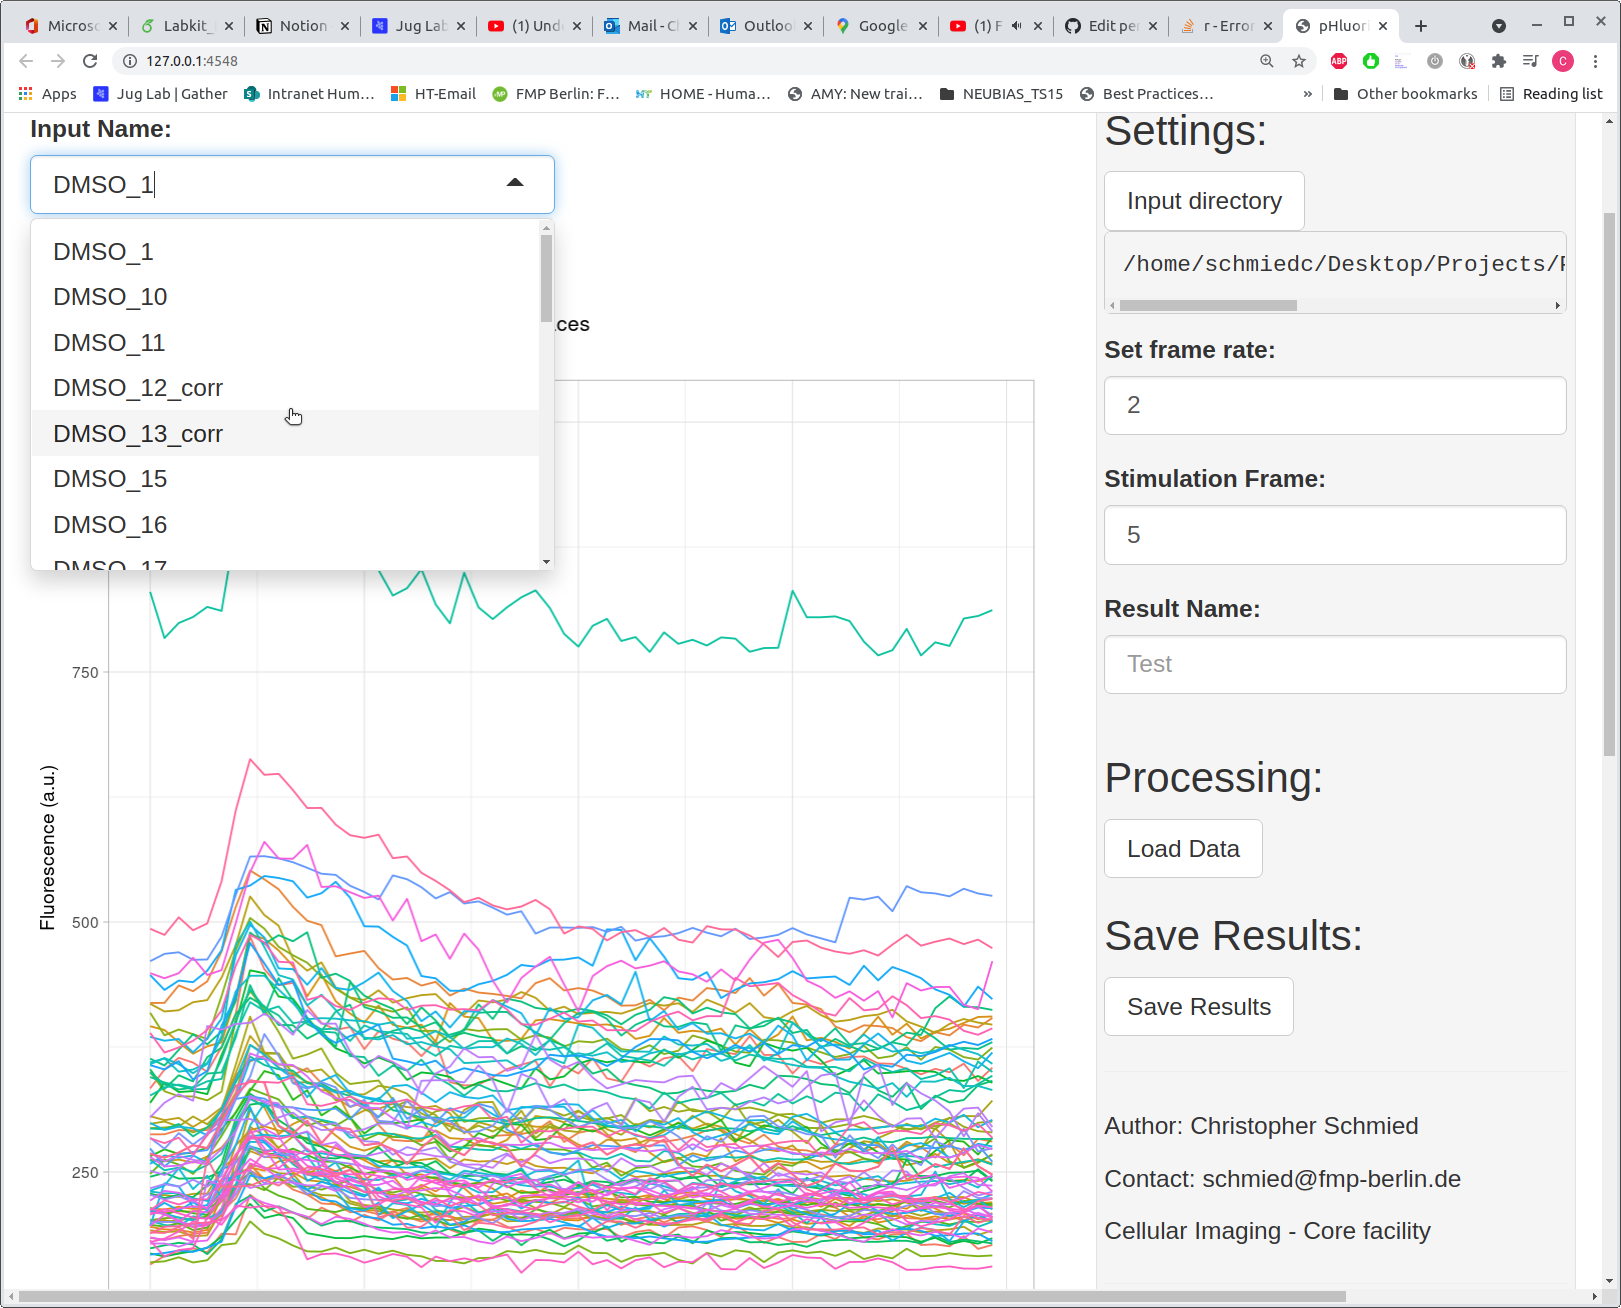
Press Open in Browser to have better more interactive window in your browser. The GUI consists of two main parts. The main plotting window with two tabs (Overview and Detail) as well as the Settings tab.
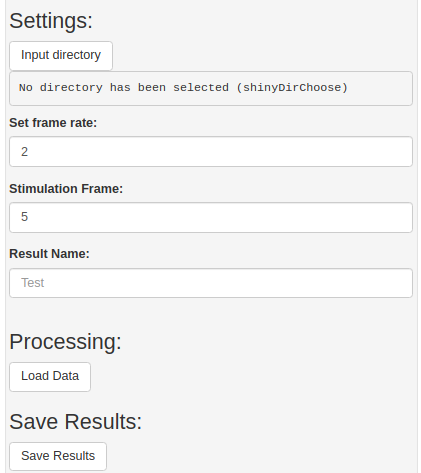
In the settings tab you can specify the directory that contains the result files of the image analysis. You should then specify the frame rate as well as the stimulation frame. Optionally you can use a name for the result files.
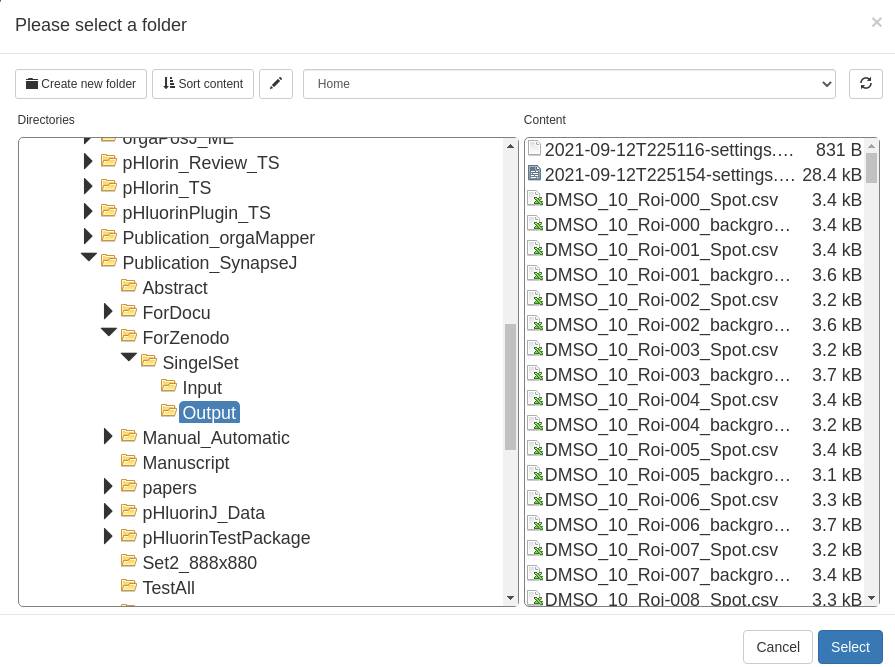
Press Input Directory to enter the directory dialog and navigate to the correct folder and then press Select.
Then press Load Data in the settings interface. In the main window of the Shiny App plots will show the processed data in the Overview tab.
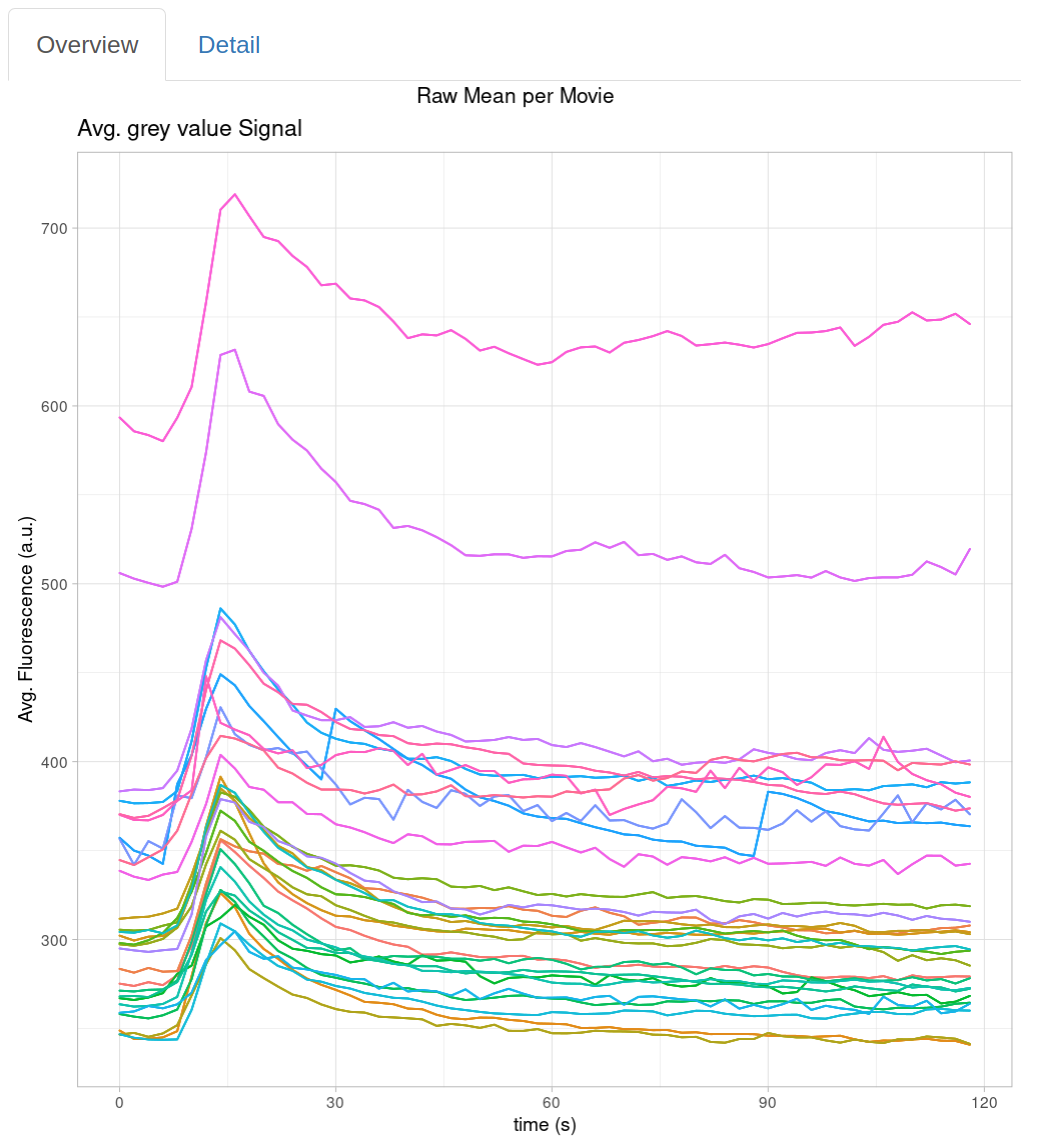
For a detailed view of the traces for each movie you can navigate to the Detail tab:
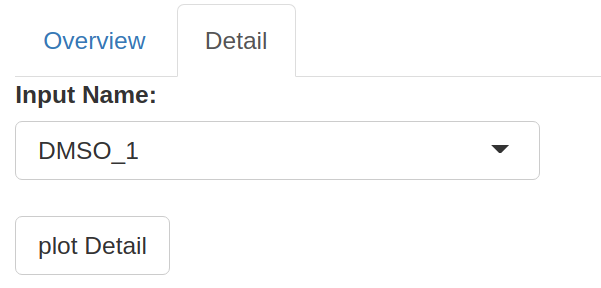
From the drop down menu you can select the movie and plot the individual traces for the regions of interest as well as the background:
Processing Results
Press Save Results for saving the final tables and plots for quality control. The files will be saved in the Input directory:
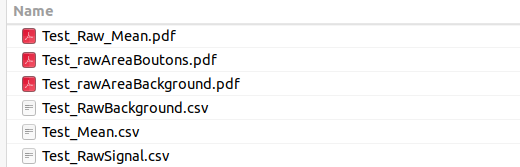
├── <ResultName>_Raw_Mean.pdf
├── <ResultName>_rawAreaBoutons.pdf
├── <ResultName>_rawAreaBackground.pdf
├── <ResultName>_RawBackground.csv
├── <ResultName>_Mean.csv
├── <ResultName>_RawSignal.csv
├── …
…
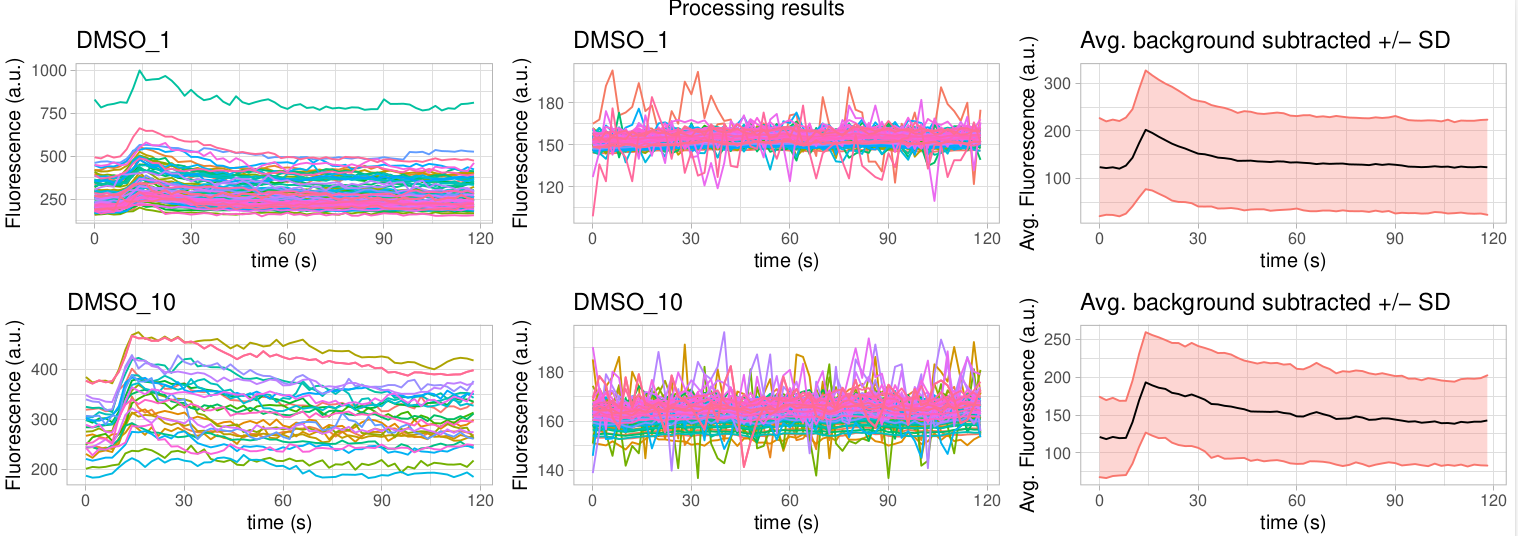
Raw_Mean.pdf
Contains the plots of the traces for each ROIs, the background as well as the averaged and background subtracted trace. For each movie these plots are shown side-by-side in order to promote quality control.
RawAreaBoutons.pdf
Shows box plots for each movie of the area of the segmented ROIs.
RawAreaBackground.pdf
Shows box plots for each movie of the area of the segmented background areas.
RawBackground.csv
Contains the collected data table for the background traces.
Mean.csv
Contains the processed traces for each movie
- Average of signal (mean.sig)
- Average of background (mean.back)
- Background subtracted average traces (mean.corr)
- Background subtracted and surface normalized traces (surf_norm)
- Background subtracted, surface and peak normalized traces (peak_norm)
RawSignal.csv
Contains the collected data table of all traces per ROI.